First, let’s wrap our task in a form to add a checkbox. Add the following code in the _task.html.erb file.
<div class="block">
  <%= form_with(model: task, class:"text-lg inline-block my-3 w-72") do |form| %>
    <%= form.check_box :completed,
                       class: "mr-2 align-middle bg-gray-50 border-gray-300 focus:ring-3 focus:ring-blue-300 h-5 w-5 rounded checked:bg-green-500" %>
    <%= task.description %>
  <% end %>
</div>
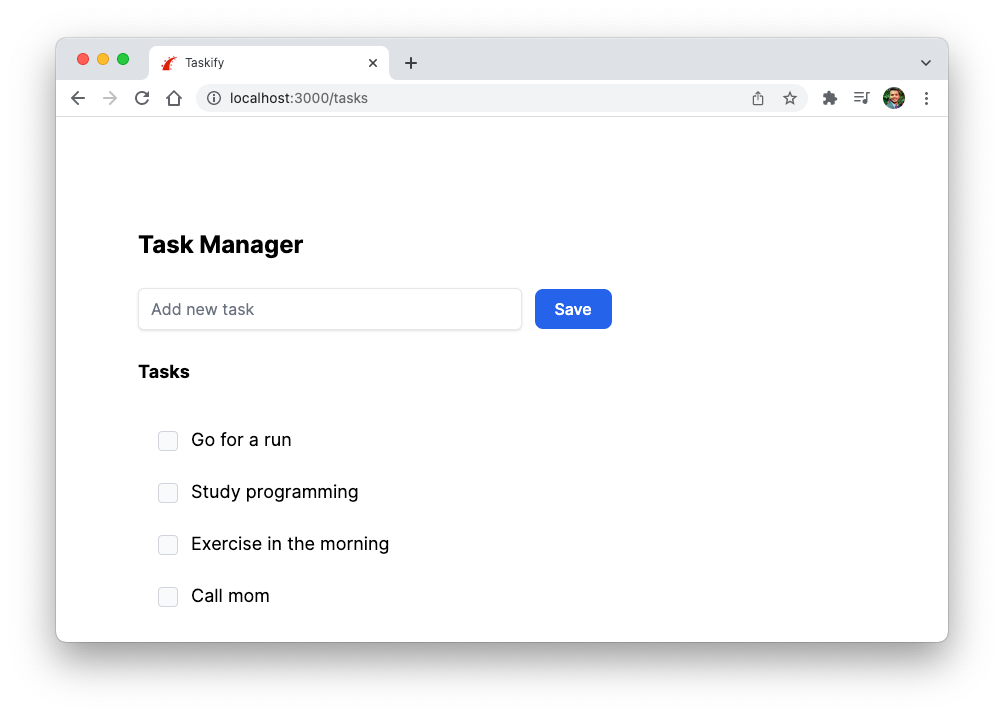
Reloading the page shows the beautiful checkbox next to our task.
Next, we will add a data-controller attribute in our index.html.erb template.
In Stimulus, we mark our elements of interest by annotating their data attributes, such as data-controller and data-action.
Stimulus continuously monitors the page waiting for HTML data-controller attributes to appear. For each attribute, Stimulus looks at the attribute’s value to find a corresponding controller class, creates a new instance of that class, and connects it to the element.
I have skipped the rest of the code for brevity. You are only adding the data-controller="tasks" attribute on the div element rendering the tasks.
...
<div class="px-5" data-controller="tasks">
  <%= render @tasks %>
</div>
For this data-controller to work, we need to add a tasks_controller.js file in the app/javascript/controllers directory. Or, you can also run the Rails generator to create Stimulus controllers for you.
➜  bin/rails generate stimulus tasks
      create  app/javascript/controllers/tasks_controller.js
Add the following code to this file.
import { Controller } from "@hotwired/stimulus"

export default class extends Controller {
    connect() {
        console.log(this.element)
    }
}
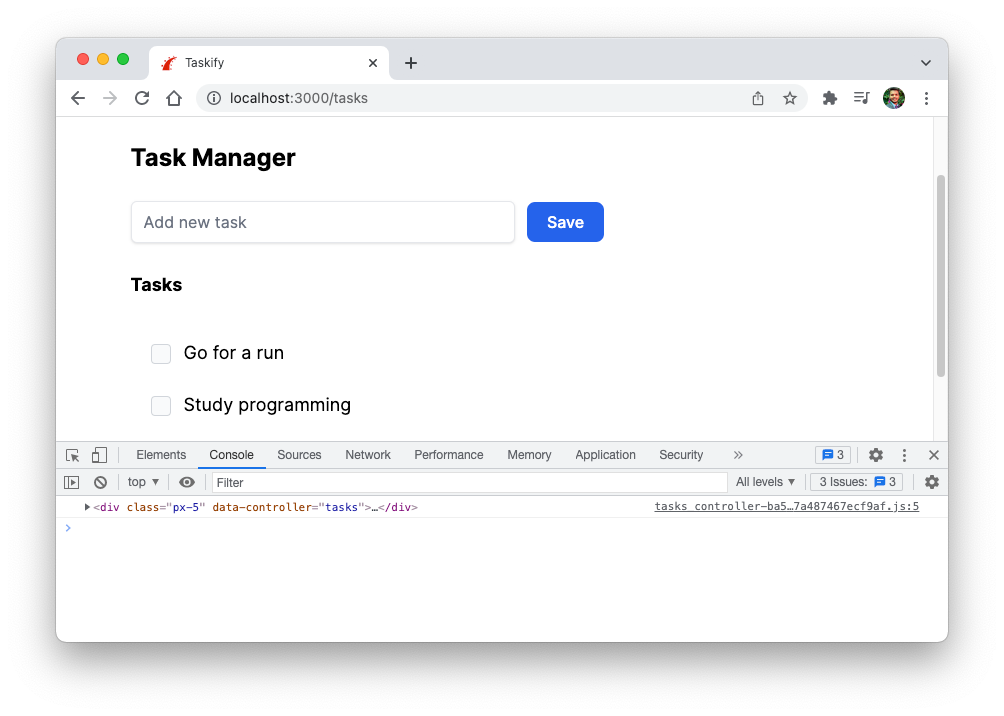
Stimulus calls the connect method each time it connects a controller to the document. Simply reload the page and open the dev tools window to test it’s working. You should see the following output in the console. That means Stimulus has connected the element to our controller.
Next, we will make a back-end request whenever the user clicks the checkbox. For this, update the task partial (in the _task.html.erb file) by adding the data attribute.
<div class="block">
  <%= form_with(model: task, class:"text-lg inline-block my-3 w-72") do |form| %>
    <%= form.check_box :completed,
                       data: {
                         id: task.id,
                         action: "tasks#toggle"
                       },
                       class: "mr-2 align-middle bg-gray-50 border-gray-300 focus:ring-3 focus:ring-blue-300 h-5 w-5 rounded checked:bg-green-500" %>
    <%= task.description %>
  <% end %>
</div>
When Rails renders this template, it spits out the following HTML.
<input data-id="1" data-action="tasks#toggle" class="mr-2 .." type="checkbox" value="1" name="task[completed]" id="task_completed">
The
data-idattribute is not specific to Stimulus, but we are using it to pass the task id to the controller so that we can pass it to the server.The
data-actionattribute tells Stimulus that whenever a user clicks on this checkbox, call the toggle method defined on the controller in thetasks_controller.jsfile.
Note: The
data-actionattribute must be nested inside an element that’s getting connected to the Stimulus controller. In our case, the task partial is rendered inside our div element in the index template. That’s how Stimulus knows which controller action to call.
Now add the toggle method in our tasks_controller file, which makes a JavaScript fetch call to the server. Again, Stimulus will call this method whenever the user clicks the checkbox.
import { Controller } from "@hotwired/stimulus"

export default class extends Controller {
    connect() {
        console.log(this.element)
    }

    toggle(e) {
        const id = e.target.dataset.id
        const csrfToken = document.querySelector("[name='csrf-token']").content

        fetch(`/tasks/${id}/toggle`, {
            method: 'POST', // *GET, POST, PUT, DELETE, etc.
            mode: 'cors', // no-cors, *cors, same-origin
            cache: 'no-cache', // *default, no-cache, reload, force-cache, only-if-cached
            credentials: 'same-origin', // include, *same-origin, omit
            headers: {
                'Content-Type': 'application/json',
                'X-CSRF-Token': csrfToken
            },
            body: JSON.stringify({ completed: e.target.checked }) // body data type must match "Content-Type" header
        })
          .then(response => response.json())
          .then(data => {
             alert(data.message)
           })
    }
}
There are a few points to note in the above method.
The
togglemethod takes the event as a parameter. We can access the checkbox element from thetargetproperty of the event.We retrieve the task
idfrom the data attribute on the element, which we set earlier. Then we pass theidin the URL.We are passing the
csrfTokenin the header. I wrote about the Cross-Site Request Forgery vulnerability and CSRF tokens in my post Understanding Authenticity Tokens in Rails. Check it out if you're interested in learning more.The body contains whether the checkbox was selected or not, letting the server know if the task is completed or marked incomplete.
With the front-end ready, let’s add the back-end code to handle this POST request from the browser. There are two steps to it.
Step 1: Add a route in the routes.rb file that tells the router to call the toggle action on the TasksController, whenever a POST request is made with a specific URL pattern.
Rails.application.routes.draw do
  # ...
  post "tasks/:id/toggle", to: "tasks#toggle"
end
Step 2: Add the toggle method on the TasksController which finds the task using the id and updates the completed attribute. Once toggling the task, it returns the message "Success" in the JSON response.
def toggle
  @task = Task.find(params[:id])
  @task.update(completed: params[:completed])

  render json: { message: "Success" }
end
You’re all set! Go ahead and mark a few tasks complete (of course, after you’ve finished them in the real world). To make sure the changes were persisted in the database, reload the page, and you should see the completed tasks checked off.
